Walk in cooler facts that cut your costs


You can build a walk-in cooler on a budget by picking smart materials and using simple DIY tricks. Focus on energy efficiency right from the start. Good airflow keeps your cooler dry and helps prevent mold. Even if you have never tried building a walk-in cooler before, you can do it.
Tip: Leave a 2-inch air gap around your waik in cooler for better airflow and less moisture.
Key Takeaways
Pick the right size for your walk-in cooler. A smaller cooler uses less material and saves energy.
Use recycled materials to save money. Salvage yards and online sites often have cheap choices.
Seal all gaps with weatherstripping and foam. This keeps cold air inside and lowers energy use.
Plan your cooler’s layout with care. A simple design with good airflow stops mold and helps it work better.
Regular maintenance is important. Easy jobs like cleaning coils and checking seals can save you money over time.
Cost-Saving Facts for Walk-In Coolers
Quick Wins for Lower Costs
You want to save money right away when you build your cooler. Here are some quick wins you can use:
Choose the right size: Pick a cooler size that fits your needs. A smaller cooler costs less to build and uses less energy.
Use recycled materials: You can find doors, insulation, and panels at salvage yards or online marketplaces. This trick cuts your costs fast.
Seal every gap: Use weatherstripping and foam to seal doors and corners. Cold air stays in, so your cooler works less.
Install LED lights: LEDs use less power and do not add heat inside your cooler.
DIY shelving: Build shelves from simple lumber or metal racks. You do not need fancy shelves to keep things organized.
Tip: Always check for air leaks. Even a small gap can make your cooler work harder and cost you more.
Common Myths to Avoid
You might hear some advice that sounds good but actually costs you more. Let’s clear up a few myths:
Myth 1: “Bigger is always better.”
If you build a walk-in cooler that is too big, you waste money on materials and energy. Stick to the size you need.Myth 2: “Any insulation will work.”
Not all insulation keeps cold air in. Use foam board or spray foam for the best results.Myth 3: “You need a pro for everything.”
You can do most of the work yourself. Many people build a cooler with basic tools and some research.Myth 4: “Old fridges make great coolers.”
Old fridges often use more power and break down faster. A purpose-built cooler saves you money in the long run.
If you avoid these myths, you keep your project simple and your costs low.
Building a Walk-In Cooler: Planning & Layout
Space and Size Choices
You want your walk-in cooler to fit your needs, not waste space or money. Start by thinking about what you plan to store. Make a list of items and estimate how much room they take up. If you only need to chill drinks or a few boxes, a small cooler works best. If you run a small business or farm, you might need more space.
Draw a simple sketch of your cooler. Mark where you want shelves, doors, and open space. This helps you see if your plan makes sense. Try to keep the shape simple. A square or rectangle is easier to build and keeps the cold air inside better.
Tip: Measure your space twice before you start building. You do not want to run out of room or build a cooler that is too big for your spot.
Airflow and Location Tips
Good airflow keeps your cooler dry and stops mold from growing. Place your walk-in cooler in a spot with some space around it. Leave at least a 2-inch air gap on all sides. This gap lets air move and keeps moisture away from the walls.
Pick a location that stays cool and out of direct sunlight. A shady spot or a garage works well. If you put your cooler outside, try to shield it from rain and wind.
Keep the door away from heat sources like ovens or heaters.
Make sure you can open the door all the way.
Check that you have easy access to power for your cooling system.
Note: A small fan inside your cooler can help move air and keep the temperature even.
Planning your space and airflow now saves you headaches later. You get a cooler that works better and costs less to run.
Budget Materials for Walk-In Cooler Construction
Affordable Framing and Insulation
You do not need fancy materials to build a strong frame for your cooler. Most people use regular 2x4 or 2x6 lumber from the hardware store. This wood works well and costs less than metal studs. If you want to save even more, look for used lumber at salvage yards or online. Just make sure the wood is dry and straight.
Insulation is the secret to keeping your cooler cold and your energy bills low. Foam board insulation gives you the best results for the price. You can find it at most home improvement stores. Some people use spray foam, but it costs more. If you want to cut costs, check for leftover foam boards from construction sites. Always use insulation that is at least 4 inches thick for walls and ceiling.
Tip: Seal every seam with tape or spray foam. This step keeps warm air out and cold air in.
Panels, Doors, and Flooring Options
You have many choices for the inside and outside panels of your walk-in cooler. Plywood is cheap and easy to cut. You can also use oriented strand board (OSB) for a lower price. For the inside, some people use white PVC panels because they clean up fast and resist moisture.
Doors can get expensive, but you have options. Try to find a used insulated door online or at a salvage store. If you build your own, use thick insulation and weatherstripping to keep the cold inside.
For the floor, pressure-treated plywood works well. You can add a layer of vinyl or rubber mat to make cleaning easier. If your cooler sits on concrete, seal the floor to stop moisture from coming up.
Note: Always check that your panels and doors fit tight. Gaps let cold air escape and make your cooler work harder.
Walk-In Cooler Cooling Systems
DIY Cooling Solutions
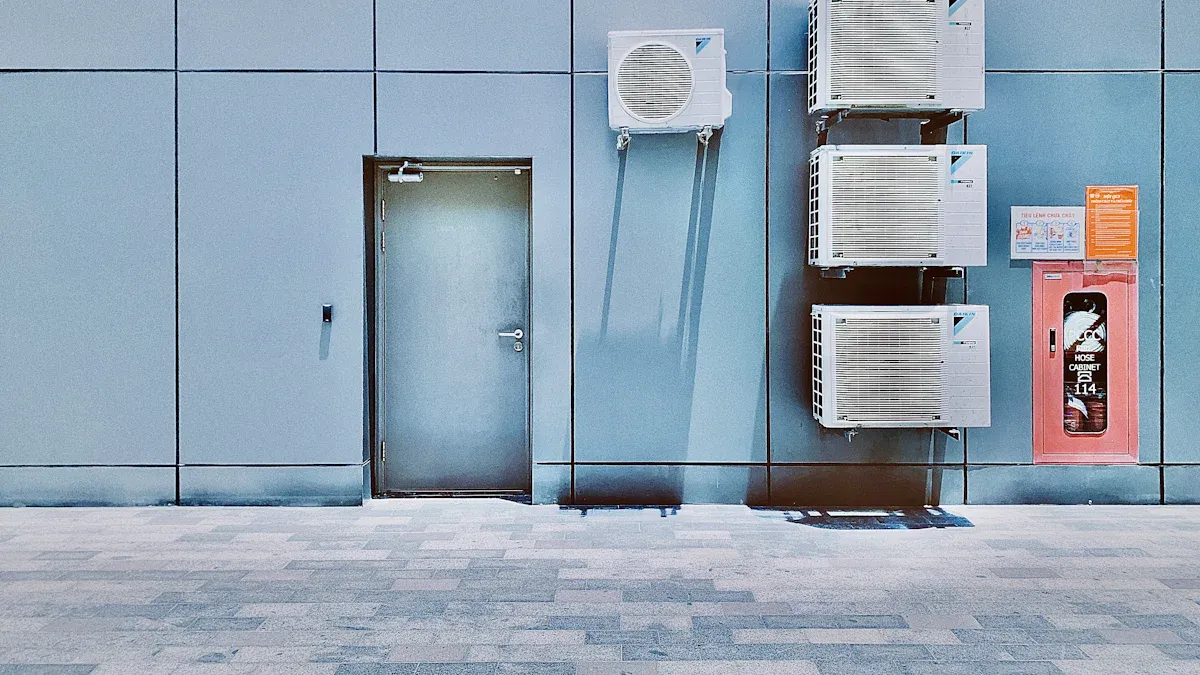
You do not have to buy an expensive refrigeration unit. Many people use a window air conditioner instead. You can put the air conditioner in the wall of your walk-in cooler. This works well for small coolers. If you want to spend less, find a used air conditioner online or at a store.
Tip: Make sure your air conditioner is strong enough for your cooler size. Look at the BTU rating before you buy.
Some people use old refrigeration unit parts from broken freezers. You can build your own system with basic tools and some patience. Always check for leaks and make sure your system is safe.
Using a Cool Bot
A Cool Bot is a small device that helps your air conditioner cool lower than normal. You connect the Cool Bot to your air conditioner and set the temperature you want. This setup makes a regular air conditioner work like a strong refrigeration unit. Many people use this because it costs less than buying a commercial refrigeration unit.
You save money on equipment.
You get better energy efficiency.
You can change the temperature for different needs.
Note: Always follow the Cool Bot instructions. This helps your cooling system last longer.
Energy Efficiency Tips
You want your walk-in cooler to use less power. Try these tips to save energy:
Use thick insulation on every wall and ceiling.
Seal all gaps with foam or tape.
Install an automatic door closer to keep cold air inside.
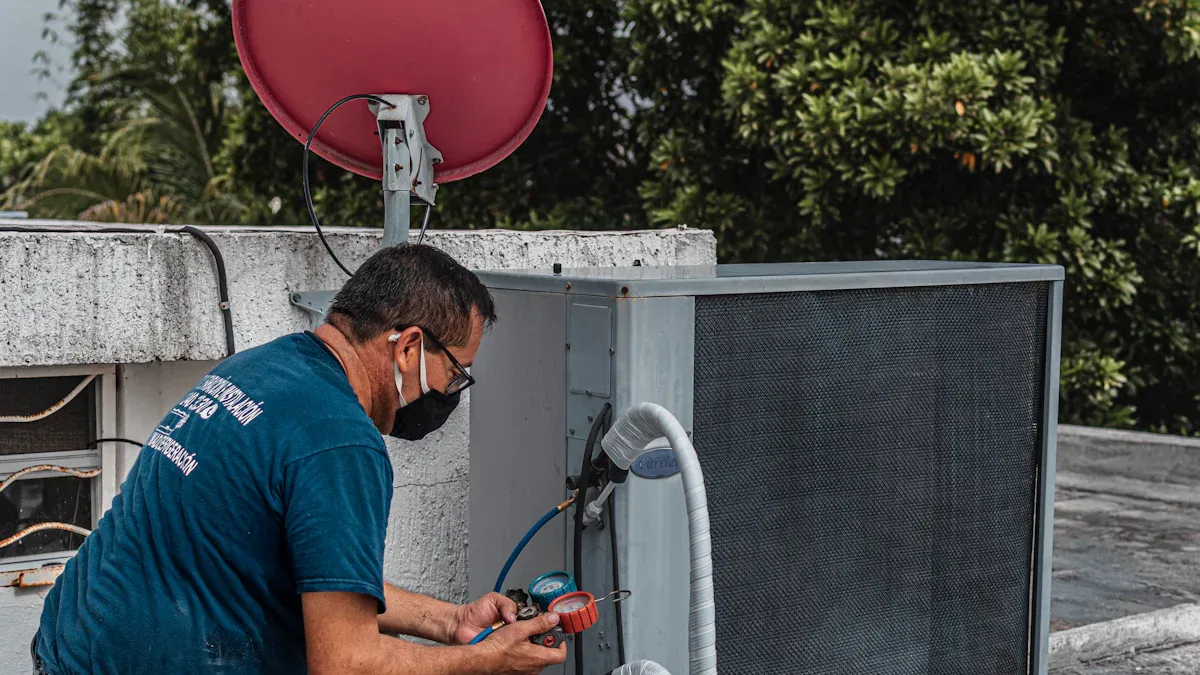
Clean your refrigeration unit coils every few months.
Set your temperature only as low as you need.
A good refrigeration unit with strong energy efficiency saves you money every month. Your cooler works well without wasting power.
Step-by-Step Waik in Cooler Build Guide
Building your own waik in cooler can feel like a big project, but you can break it down into simple steps. This step-by-step guide will help you get started, avoid common mistakes, and save money along the way.
Easy Build Instructions
You do not need to be a pro to build a waik in cooler. Just follow these steps, and you will have a working cooler in no time:
Plan Your Space
Measure the area where you want your waik in cooler. Sketch out the size and shape. Make sure you leave a 2-inch air gap around the sides for airflow. Think about what you want to store and how much space you need.Gather Materials
Pick up 2x4 or 2x6 lumber for the frame. Buy foam board insulation at least 4 inches thick. Look for plywood or OSB for the walls. Try to find a used insulated door to save money.Build the Frame
Cut your lumber to size. Build the floor frame first, then the walls, and finally the ceiling. Use screws to hold everything together. Check that your frame is square and sturdy.Add Insulation
Place foam board insulation between the studs. Cover every wall, the ceiling, and the floor. Seal all seams with tape or spray foam to keep cold air inside.Install Panels and Door
Attach plywood or OSB to the outside and inside of your frame. Hang your insulated door. Add weatherstripping around the door to stop air leaks.Set Up Cooling
Install a window air conditioner in the wall. Connect a Cool Bot to the air conditioner. Set your desired temperature. Plug in a small fan inside the waik in cooler to keep air moving.Check for Leaks and Test
Walk around your waik in cooler and feel for cold air escaping. Seal any gaps you find. Turn on your cooling system and let it run for a few hours. Check the temperature and make sure everything works.
Tip: Take your time with each step. Rushing can lead to mistakes that cost more to fix later.
Common Mistakes to Avoid
When you build a waik in cooler, you want to dodge these costly errors:
Ignoring size and capacity needs. If your waik in cooler is too small, you will run out of space. If it is too big, you waste energy and money.
Overlooking energy efficiency. If you skip thick insulation or leave gaps, your utility bills will go up.
Poor planning for layout and access. If you put your waik in cooler in a bad spot, it can slow down your work and make it hard to use.
Forgetting about maintenance. If you do not clean and check your waik in cooler, it can break down and cost more to fix.
Cost-Cutting Shortcuts
You can build a waik in cooler without spending a fortune. Here are some smart ways to save money:
Use Salvaged Materials
Check local salvage yards or online marketplaces for used doors, lumber, and insulation. Many people sell leftover building supplies for cheap.DIY Shelving
Build your own shelves from basic wood or metal racks. You do not need fancy shelves to keep things organized.Seal Everything
Use weatherstripping, foam, and tape to close every gap. This keeps cold air in and cuts down on energy use.Pick Durable Materials
Choosing strong materials helps your waik in cooler last longer and saves on repairs. Take a look at how material choices affect your costs:Aspect
Impact on Cost and Longevity
Durable Materials
Enhance longevity and hygiene, reducing maintenance costs over time.
Energy Efficiency
Reduces operational costs, contributing to total cost of ownership.
Plan for Easy Maintenance
Make sure you can reach all parts of your waik in cooler for cleaning and repairs. This keeps your cooler running longer and saves money.
Note: If you ever feel stuck, ask for help from friends or look up videos online. Many people have built a waik in cooler before you.
You can build a waik in cooler that fits your needs and budget. Just follow this step-by-step guide, use smart shortcuts, and keep an eye out for common mistakes. Your waik in cooler will help you save money and keep your goods fresh for years.
Walk-In Cooler Maintenance & Operating Costs
Keeping Costs Down Long-Term
You want your cooler to last for years without draining your wallet. Regular upkeep is the secret to keeping costs low and avoiding big repairs. When you stick to a simple maintenance routine, you help your walk-in cooler run better and use less energy. This means you save money every month.
Take a look at how different tasks help your cooler stay efficient:
Benefit | |
|---|---|
Check refrigerant levels | Prevents cooling inefficiency |
Clean coils and filters | Enhances energy efficiency |
Inspect door seals and gaskets | Reduces air leaks, improving performance |
Calibrate thermostats and sensors | Ensures accurate temperature control |
Verify proper drainage and defrost | Prevents water damage and maintains efficiency |
If you follow these steps, you can avoid most costly problems. You also keep your cooler running at the right temperature, which protects your food and saves on power bills.
Tip: A little time spent on maintenance now can save you a lot of money later.
Simple Upkeep Tips
You do not need to be an expert to keep your cooler in top shape. Try these easy tips to make upkeep simple:
Set up a basic maintenance plan. This helps you remember what to check and when.
Wipe down the inside and outside of your cooler every week. Clean surfaces stop mold and keep things fresh.
Clean the condenser coils once a month. Dust and dirt make your cooler work harder.
Check door seals and hinges often. If you see cracks or gaps, fix them right away.
Calibrate your thermostat so your cooler stays at the right temperature.
Do not overload your cooler. Leave space for air to move around your food.
Organize your shelves so air can flow easily.
Once a year, ask a pro to inspect your cooler. They can spot small issues before they turn into big repairs.
Note: Good habits keep your cooler running smoothly and help you avoid surprise costs.
You now know how to build a walk-in cooler that saves you money and keeps your food fresh. Here are some key tips from industry experts:
Walk-in coolers use a lot of energy, so smart choices matter.
Air curtains and tight seals help lower your energy bills.
Picking the right size and using recycled materials cuts costs fast.
Start your cooler project today. With a little planning, you can build a cooler that works hard and saves you cash.
FAQ
How cold can a DIY walk-in cooler get?
You can usually keep your walk-in cooler between 35°F and 45°F. This range works well for most foods and drinks. If you use a Cool Bot with an air conditioner, you can reach these temperatures easily.
What size air conditioner do I need?
Pick an air conditioner based on your cooler’s size. For a small walk-in, a 5,000 to 8,000 BTU unit works. Larger spaces need more power. Always check the manufacturer’s guide for the best fit.
Can I use regular home insulation?
You should not use regular fiberglass insulation. It absorbs moisture and can cause mold. Foam board or spray foam works best. These materials keep your cooler dry and energy efficient.
How do I stop mold inside my walk-in?
Keep air moving with a small fan. Wipe down surfaces often. Make sure you seal all gaps. Good airflow and regular cleaning help prevent mold from growing inside your cooler.
Is it safe to build my own walk-in cooler?
Yes, you can build your own walk-in cooler safely. Follow instructions, use the right materials, and check for electrical safety. If you feel unsure, ask a professional for advice.
See Also
Maximizing Efficiency in Your Walk-In Chiller Setup
A Complete Guide to Selecting Your Perfect Walk-In Cooler
Overcoming Storage Issues with Restaurant Cold Rooms